Adventure Camper - Modifications
The following is a record of the modifications to the Adventure camperNOVEMBER 2011
So the Adventure camper is home after a 3,000km round trip to pick it up from South Australia.
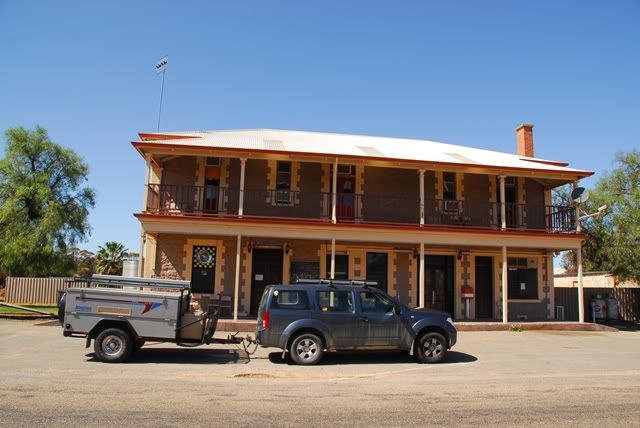
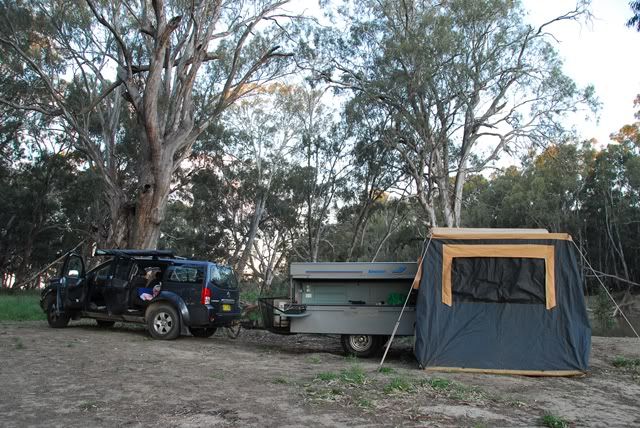
This is a photo of the set up. Unfotunately I only had a few days off work to pick it up so did not get much of a chance to use it. I dont have more photos as I was excited about getting it home.
I know, I know - you want to see more photos....Over the next few months I will post some more as I begin the never ending fun of playing with it.
-------------------
NOVEMBER 2011
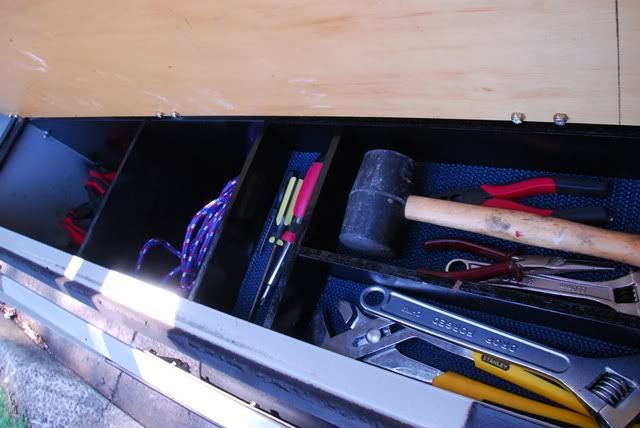
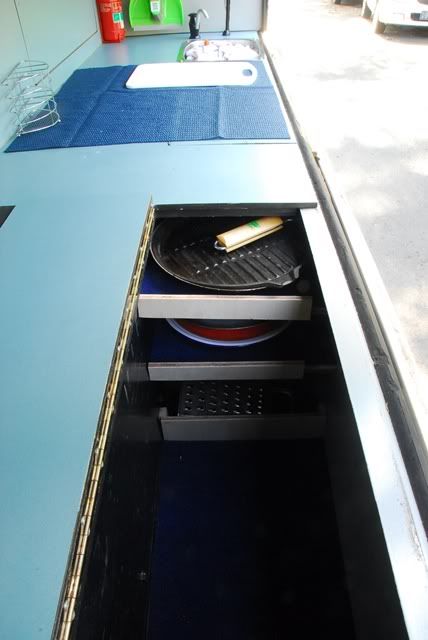
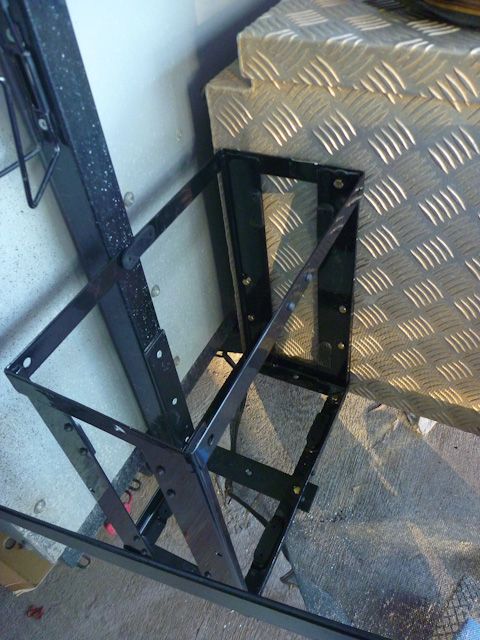
With the adventure camper there is a HUGE amount of storage. In order to make it a little more functional I have added some simple dividers. In particular there was a small spot over the wheel arch that I have converted into a simple tool box for those tools I am always wanting to get my hands on quickly.
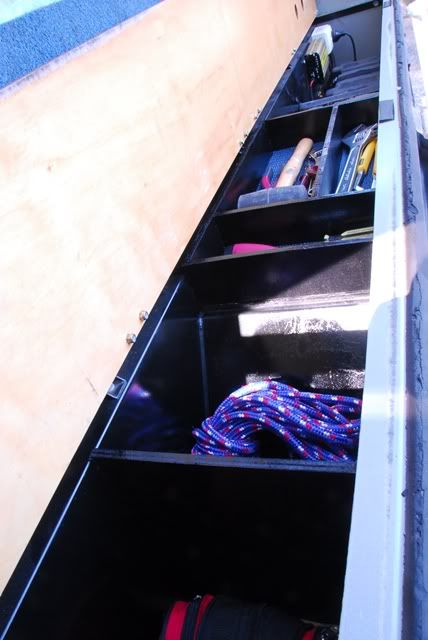
I have lined it with the non-slip rubber matting to minimise them wondering to far.
While I was at it I thought I would make use of the storage in the kitchen using the dead space next to the wheel arch. I made some simple shelves so I can now stick our cooking stuff in the corner and better use the rest of the box. Lined this with some left over marine carpet I had from the main storage area.
-----------------------------------
NOVEMBER 2011
And now for one of the quickest modification - thought I would stick up a kitchen towel rack as an alternative to throwing it over a rope which we usually end up doing.

cant get any easier than this!
----------------------------------
DECEMBER 2011
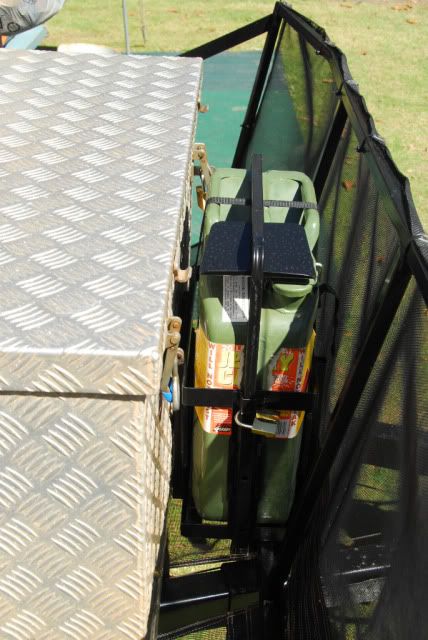
OK I know the silver box at
the front can hold 5 jerry's (but it is already full of other stuff) or
put them on the roof rack (but i like the idea of keeping it low) so
thought I would add an extra one and found a great little gap that just
needed to be filled
-----------------------------
DECEMBER 2011
Just finished putting in a gauge for the water tank.
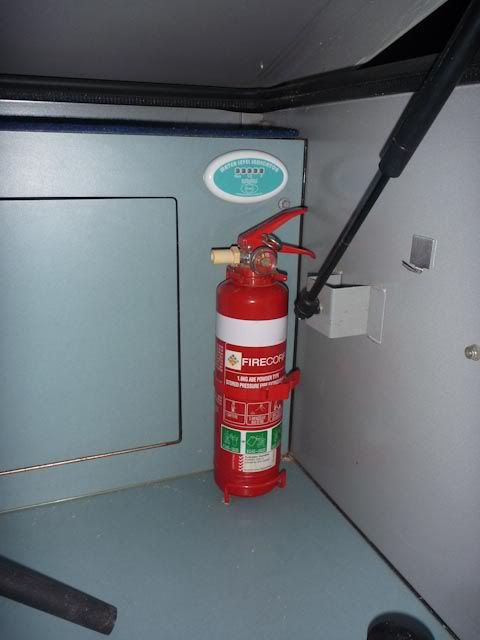
If you want to read more about my 3 hours of fun
 have a read below
http://myswag.org/forum/index.php?topic=18507.0
-------------------------------------------
JANUARY 2012
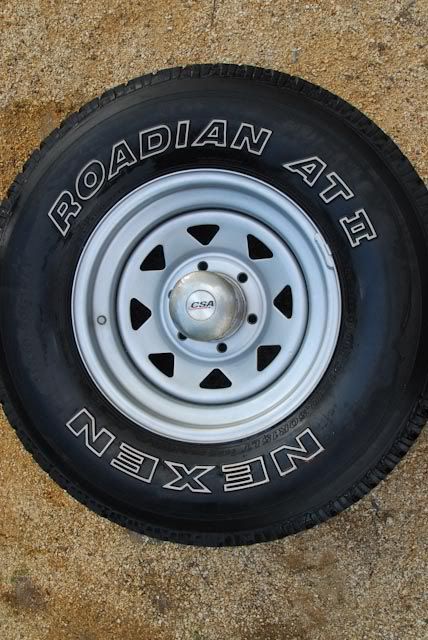
I Thought I would show a photo of another quick clean to the toy. The wheels were not in the best condition so I thought they needed a bit of a spruce up? This was before...
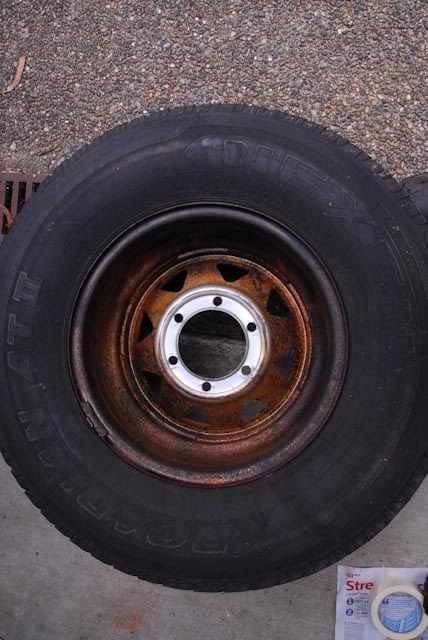
And this was after a good clean, and some wheel paint.
----------------------------------------
MARCH 2012
With all this rain I thought I would use the opportunity to add some new toys to the CT.
Finaly got around to installing the quick-fists. Simple job and I now have somewhere to keep my shovel and axe.
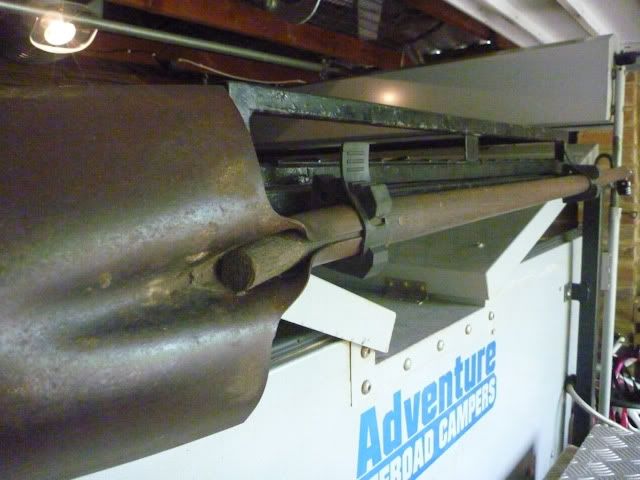
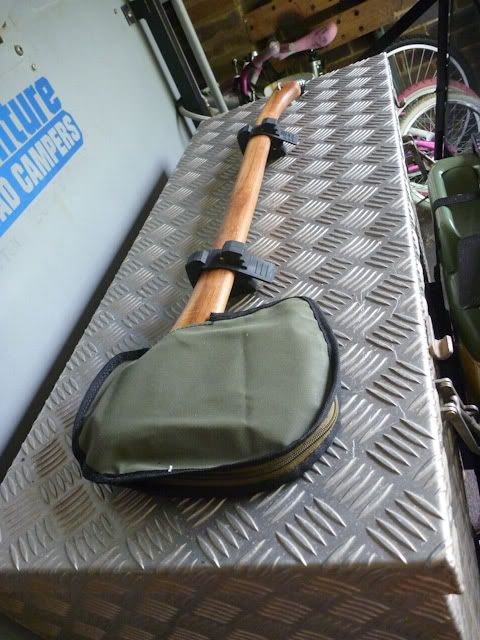
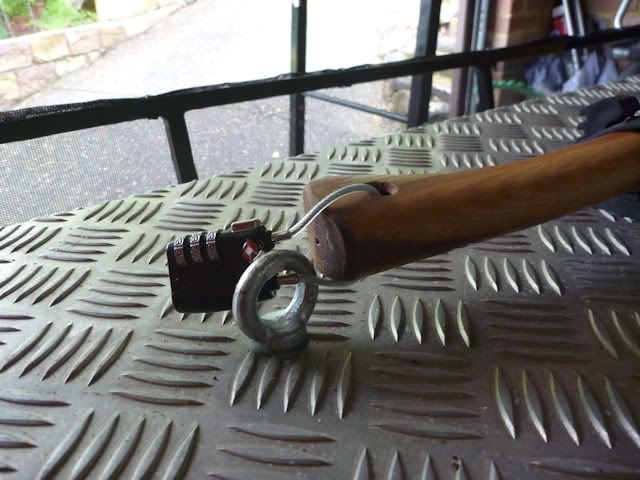
Thought I would add an extra bit of security to stop it falling off (or some quick fingers
 )
)
-----------------------------------
MARCH 2012
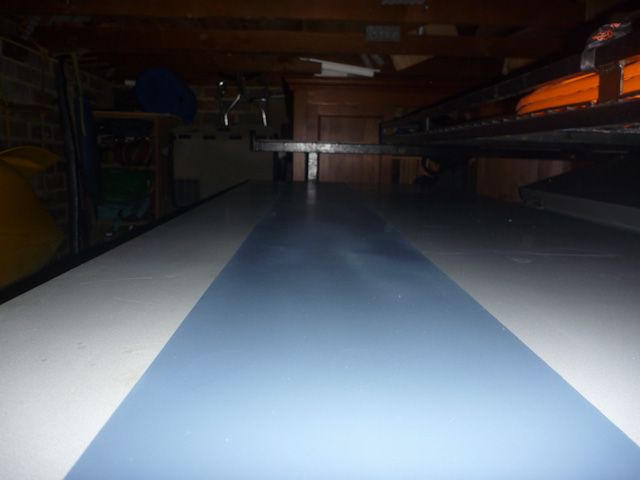
I also spent some time building some storage to hold the new solar panels (thanks to mandrake). I was really keen to put them on the roof. Unfortunately my handyskills are not as clever as this so rather than spending a week cursing and swearing I decided to just store them in the CT.
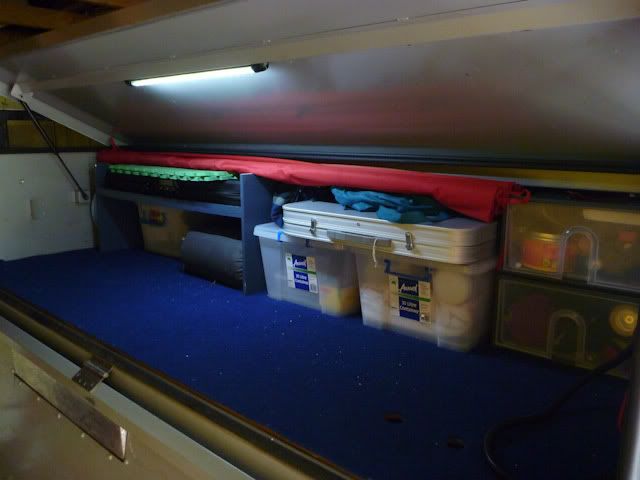
Thats them up the back on the blue shelf in a nice black case that came with them. They are sitting on some of the green matting similar to the ones you can see on top for some extra padding but below the timber lip to stop them sliding out. The storage also helps in stopping the other things from moving around.
-------------------------------------------
MARCH 2012
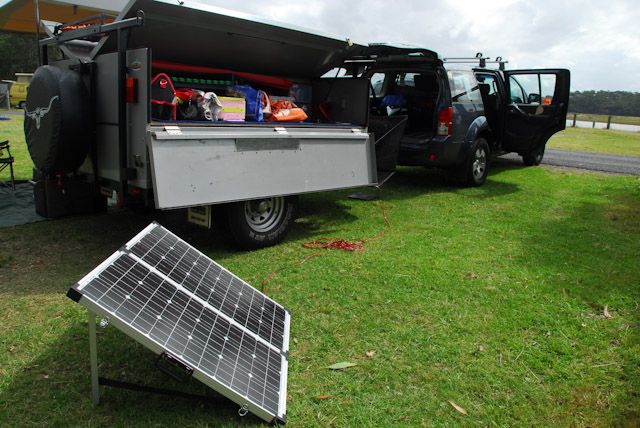
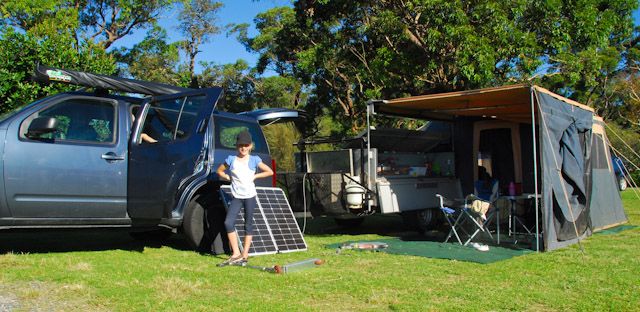
Finally got around to playing with my new 120w solar Panles on a weekend trip to Bonnievale (in the Royal National Park). this was my first time to Bonnievale and it's not a bad place if you dont have the time to really get away from Sydney.
Back to the solar - A simple set up - ended up going with portable ones rather than fixing to the trailer
Still playing with the steca regulator but all is working great.
 While I was putting it in I ended up bringing all the wiring back
through a fuse box - much neater. While I was at it I ran a new
anderson plug for the fridge to the kitchen, a spare in the storage and a
couple of extra cig plugs.
While I was putting it in I ended up bringing all the wiring back
through a fuse box - much neater. While I was at it I ran a new
anderson plug for the fridge to the kitchen, a spare in the storage and a
couple of extra cig plugs.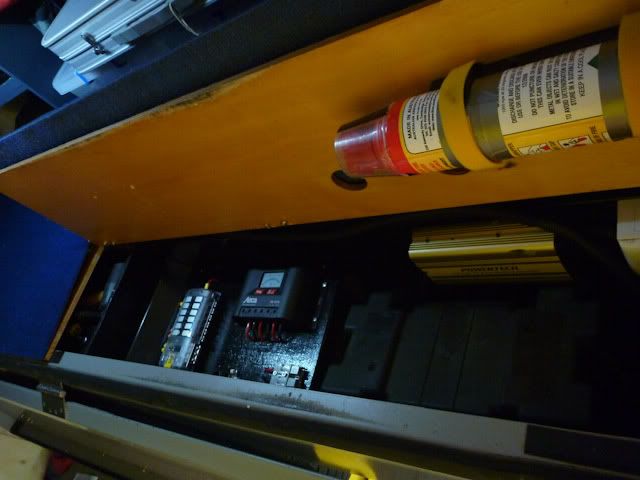
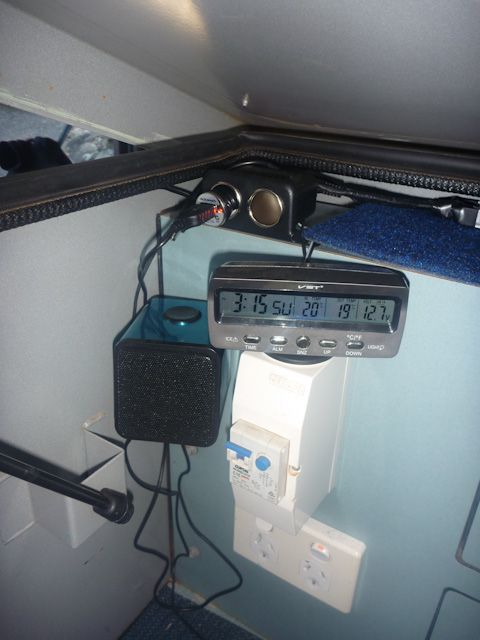
As the steca readout is located on the other side of the camper I wanted something so i could see the volts from the kitchen. I also needed a clock so thought I would try out one of these cheap digital readers that includes a temp sensor and clock.
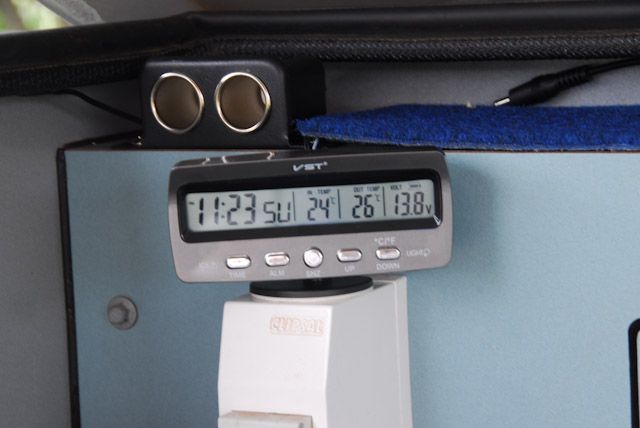
Turns out the voltage matches the steca readout but the temp probe was about 5 or 6 deg out. Not sure about this one.
After a full weekend running the fridge and assortment of LED's the battery was 100% full when I packed up at the end of the day. Very happy

-----------------------------------
APRIL 2012
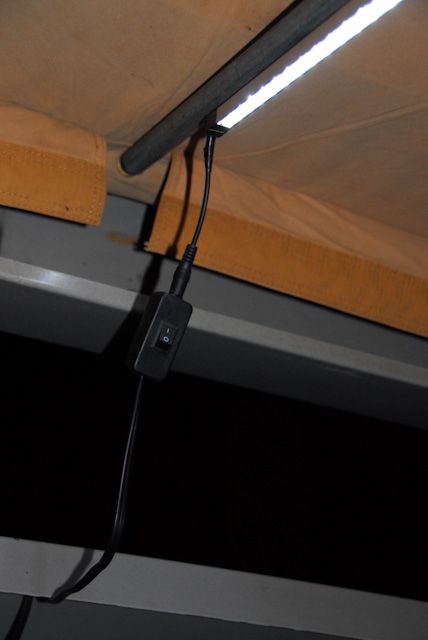
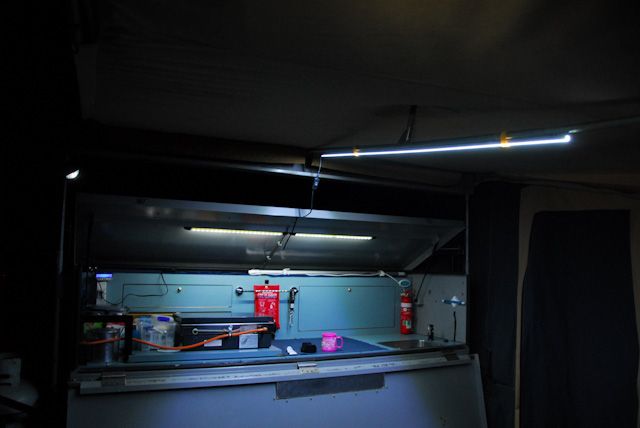
While I am posting I thought I
would throw up some photos of the new LED lights I have made. I have
two for the annex and one for the bedroom.
I bought a 5 metre roll from ebay and got some switches for jaycar.
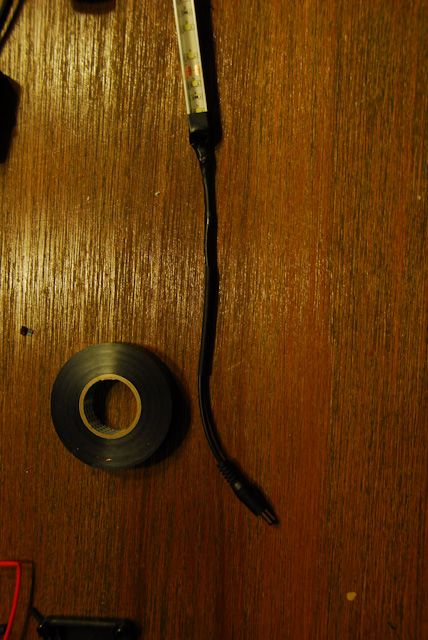
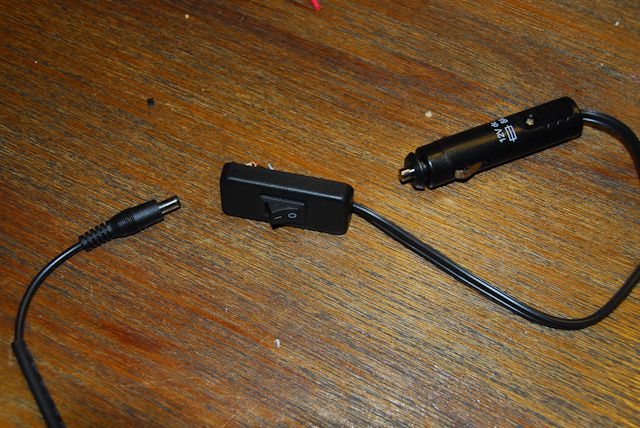
I used a removable plug to the switch which means that I can leave the light attached to the poles on the annex and unplug it leaving the cable conencted to the trailer. This also means I can close the trailer and lock the kitchen up at night.
Works a treat
I bought a 5 metre roll from ebay and got some switches for jaycar.
I used a removable plug to the switch which means that I can leave the light attached to the poles on the annex and unplug it leaving the cable conencted to the trailer. This also means I can close the trailer and lock the kitchen up at night.
Works a treat
----------------------------
MAY 2012
I take the ipad away for music but thought I would add a little boost by putting in some speakers in the camper. The aim was not to blast the neighbours away so i didnt want a full radio/speaker set up so instead i have used some low voltage computer speakers running of the cig plug. Work great and really low power draw.
The second speaker is on the sink side of the trailer.
--------------------------------------
MAY 2012
These are not good photos but not sure if others with an Adventure CT are having this problem. I have small rust spots appearing on the both lids of the trailer where the welds are underneath.

Spoke to the company but not much help and as it is 5 yrs old not realy expecting any.
Anyway, was thinking of spraying the whole roof again but ended up with a new blue pin stripe instead. At least it has addressed the rust spots.
-----------------------
JUNE 2012
A few weeks ago I managed to
spend some time in the shed adding a rack for the bike. There were a
few options including mounting on the rear wheel or on the rack on the
roof of the trailer. As this is where we usually throw the kids bikes I
thought I would give my own bike a special home.
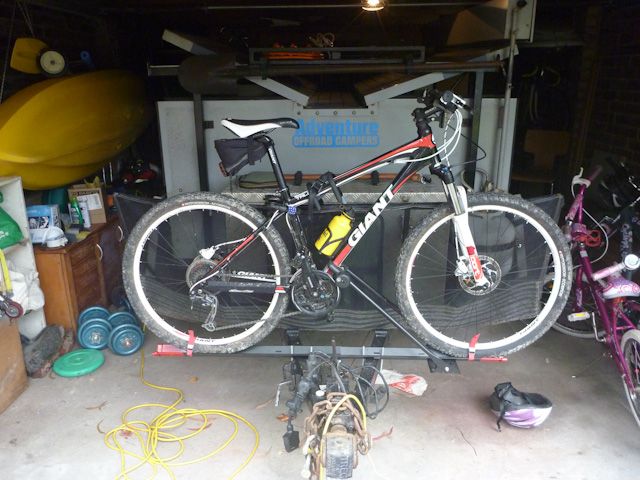
It was a second hand ebay purchase for $15 which I thought was a bargin. I also connected a support bracket to the frame of the stone guard to ensure it is not going anywhere.
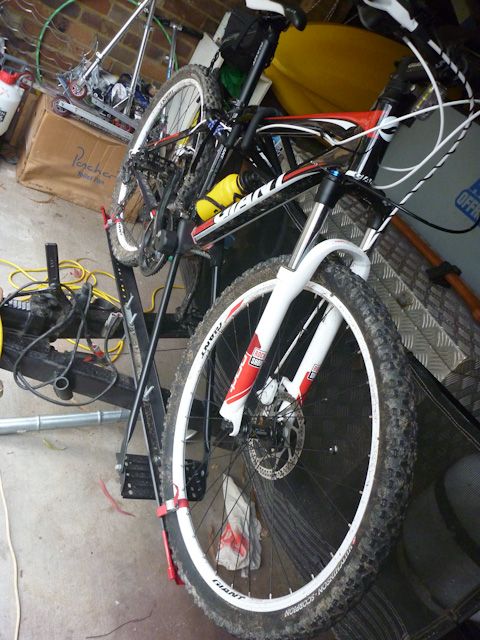
It works well and just misses the corner of the car when I do a hard lock. As it is in front of the stone guard I will most likely leave it home if we are spending lots of time on the dirt.
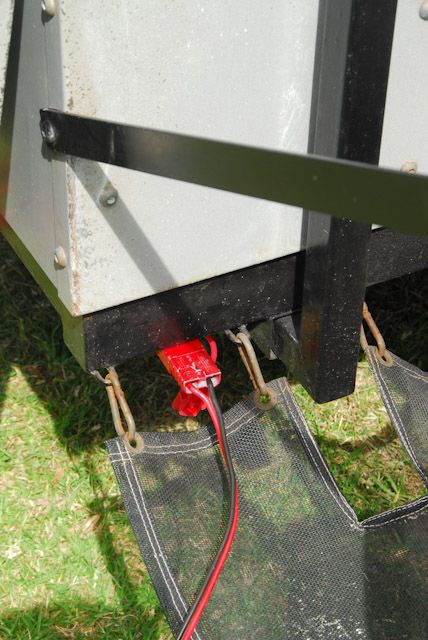
While I was at it I fixed a niggling problem where the kids were alway loosing the plug. It aint going nowhere now!
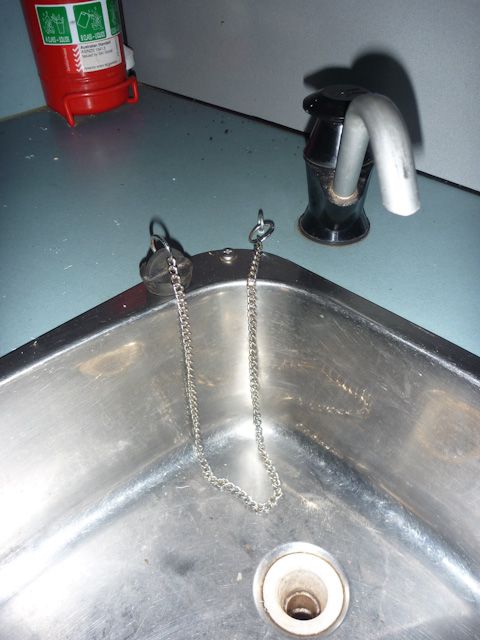
It was a second hand ebay purchase for $15 which I thought was a bargin. I also connected a support bracket to the frame of the stone guard to ensure it is not going anywhere.
It works well and just misses the corner of the car when I do a hard lock. As it is in front of the stone guard I will most likely leave it home if we are spending lots of time on the dirt.
While I was at it I fixed a niggling problem where the kids were alway loosing the plug. It aint going nowhere now!
-------------------------------------
JULY 2012
Thanks to a lot of advice from fellow myswags I spent today fixing an extra water jerry to the camper. For the benefit of those who dont know about the adventure camper it has a 60ltr underbody tank but with three kids I wanted one purely for washing hands etc to save the main tank for consumption.
I already have a fuel jerry on the main draw bar so wanted to attach the water to the side.
A couple of L brackets, some tek screws and about 20 min drilling and it was all done.
so this is what I ended up with...
and while I was at it added a water bottle holder for the soap pump
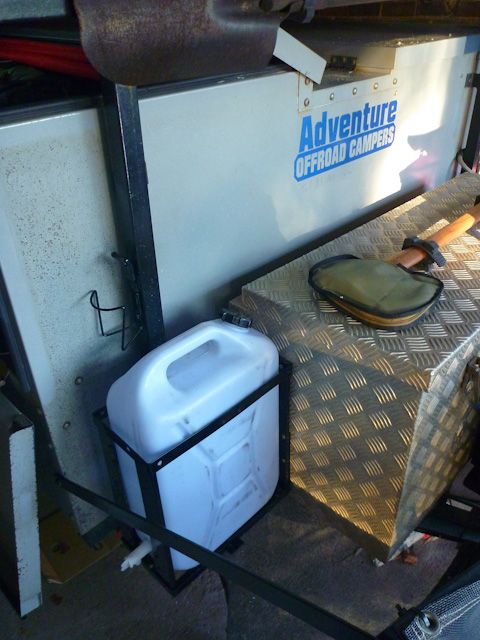
works a treat.
--------------------------------
MARCH 2013
Something I have been wanting to get around to do was include some side protection to the camper from stone chips. A fairly simple process:
- shade cloth cut to size
- edges stitched (i ended up paying for this as my efforts at sewing would be a shocker)
- islets to attach to the current stone guard
- some ute bungees riveted to the side
- sit back and admire handy work
.jpg)


0 comments: